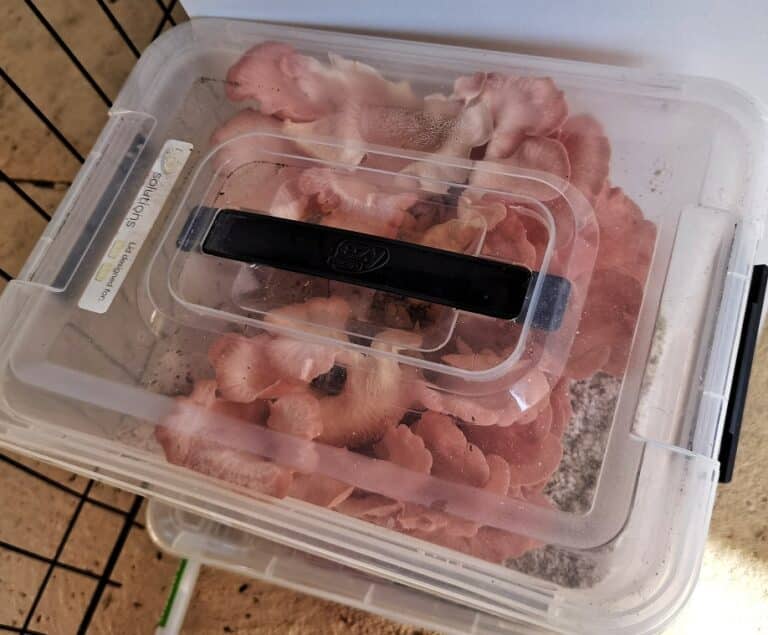
A shotgun fruiting chamber is a low-cost method to keep the humidity consistently high while still providing fresh air to the mushrooms.
It consists of a plastic crate covered in holes on all sides except for the lid. This is to encourage air flow. The base is lined with 3 – 5 cm of damp perlite. The large surface area of the damp perlite will increase evaporation and humidity.
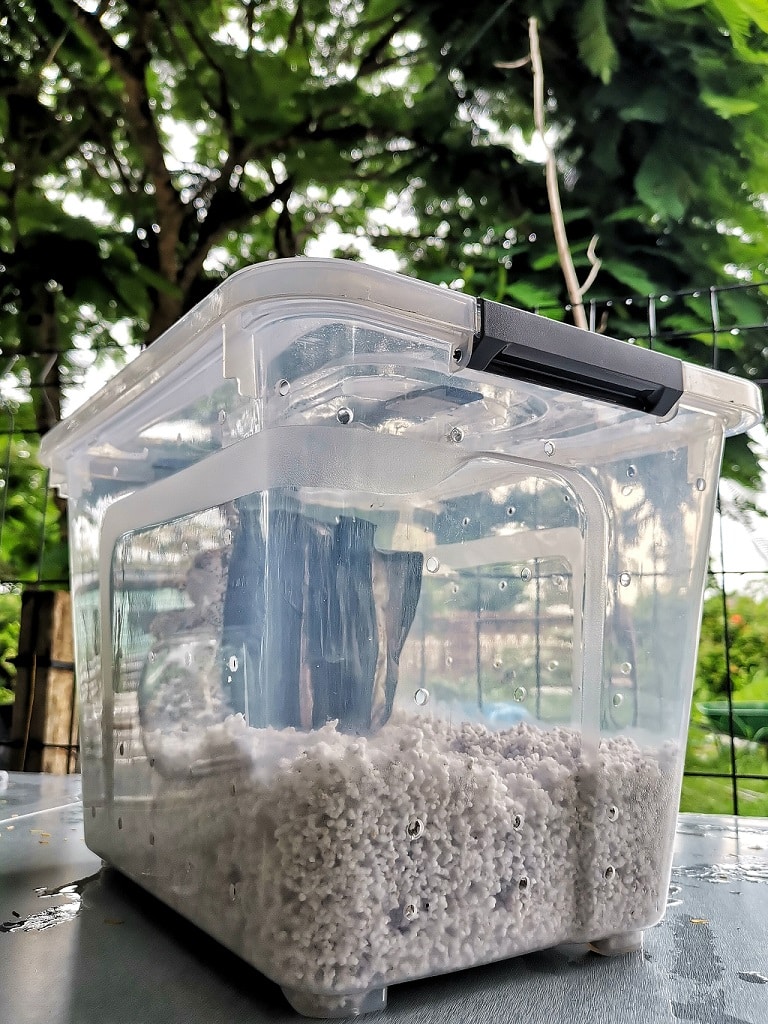
What You'll Need
You won’t need to go further than your local hardware store to find everything you need for this project.
When choosing a plastic crate be conscious of the size of the grow kit and that the mushroom caps may end up growing 15 to 20 cm wide.
- Plastic Crate
- Perlite
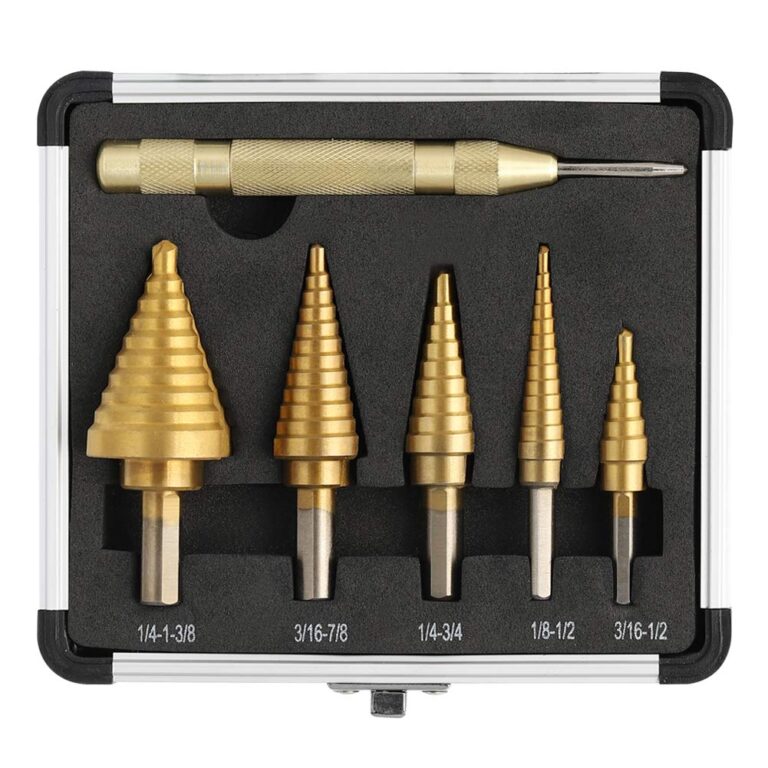
- Step Drill Bit
- Sieve
- Marker Pen
- Ruler
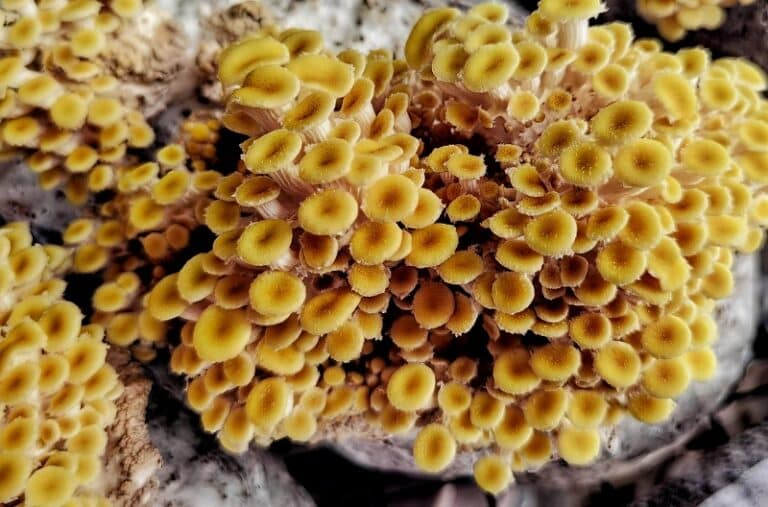
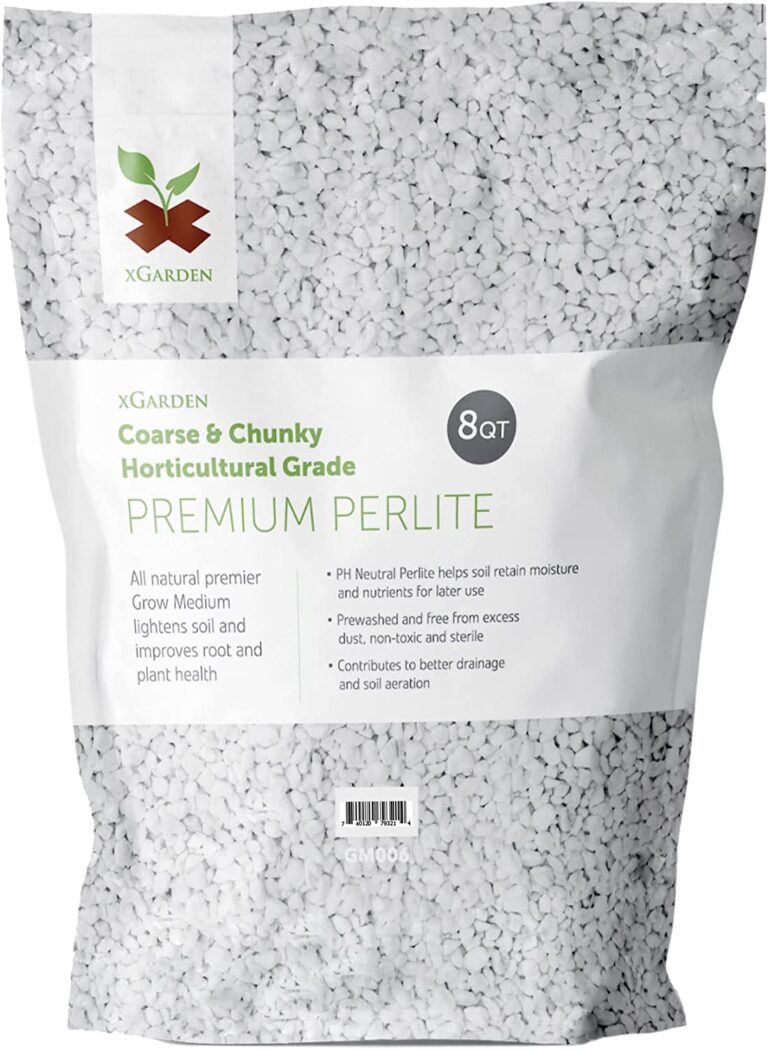
Course & Chunky Perlite
Step 1. Mark Holes
Mark the box at 1 inch (5 cm) intervals on all sides of the crate, including the base.
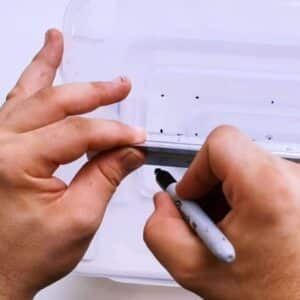
Step 2. Drill Holes
Drill holes. Apply gentle pressure taking care not to crack the plastic. Use a small piece of tape over any cracks to avoid them spreading. The size of holes may be modified to suit fresh air requirements.
The use of a step drill (pictured) is recommended for clean, neat holes.
Step 3. Add Perlite
Soak and drain perlite. Sit plastic crate on towel as it will likely drip at first. Add perlite to the bottom of the plastic crate. It should sit 1 – 2 inches deep.
Step 4. Install Grow Kits
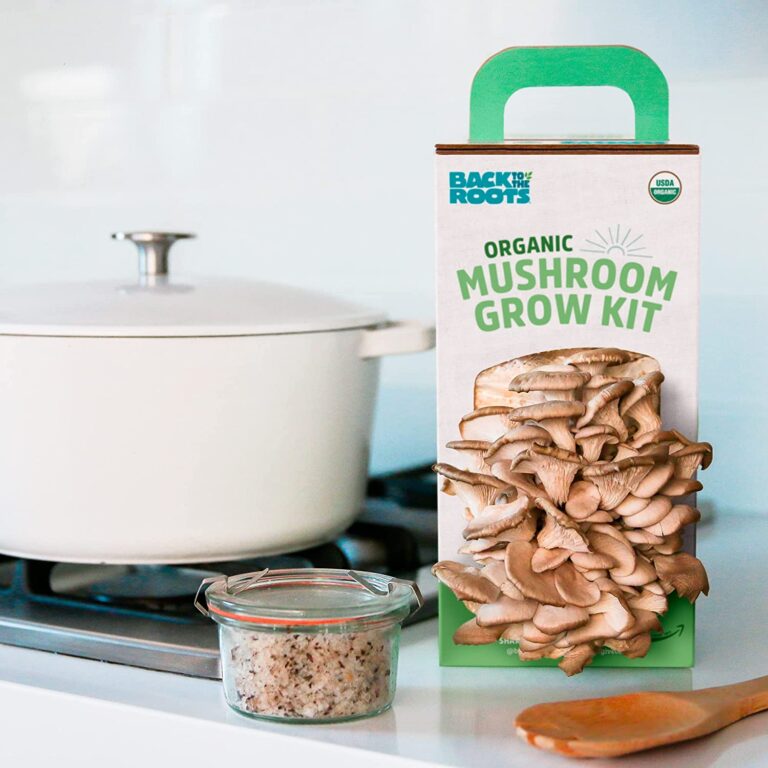
Fruiting blocks can now be placed inside the shotgun fruiting chamber. Holes can be increased or covered depending on fresh air requirements and humidity levels.
Mist the inner walls of the fruiting chamber with water from a spray bottle. The droplets that adhere to the surface will evaporate and increase humidity.
Dampen perlite every few days as needed.
