Well, hello there, you fantastic fungi fanatic, you! Get ready to delve deep into the thrilling world of gourmet mushroom cultivation, because today, we’re pushing past the compost heap and striding boldly into the realm of grain spawn.
Now, I know what you’re thinking. “Grain spawn? I signed up for mushroom magic, not a grain grind!” But, stick with me, friends, because we’re about to embark on a “grains”-worthy adventure, one that’s the yeast bit boring and the most “spore-tacular” one yet!
When it comes to mushroom cultivation, grain spawn is not just the slice of bread to your mycelium sandwich—it’s the entire kitchen, if not the whole bakery! It’s the behind-the-scenes hero of our mushroom narratives, quietly setting the stage for the fabulous fungal flourish we all love.
Trust me when I say, understanding grain spawn is much more than just a “kernel” of knowledge—it’s an essential building block on your path to becoming the “cap” of the crop in the mushroom cultivating world. So, buckle up, put your best “foot-fungi” forward, and let’s jump headfirst into the grainy, pun-filled, and oh-so-exciting world of grain spawn!
How Is Grain Spawn Made?
Let’s dive deeper into the enchanting “underground” world of mushroom cultivation, where grain spawn plays the leading role!
Grain spawn is quite the “grainschild” of your mushroom operation, acting as a stepping stone for your friendly fungi. It’s a process that combines sterilized grains—often wheat, rye, or millet—with mycelium, the vegetative part of a fungus. Together, they embark on a beautiful, symbiotic relationship, where the mycelium takes over the grain, colonizing it with its complex network of thread-like cells. This process is what we shroom-enthusiasts endearingly call “spawn run.”
Here’s a simplified, five-step, “birds-eye-view” breakdown of the process:
Selection and Preparation: Choose your grain! This will serve as the primary nutrient source for your mycelium. Rinse it thoroughly and soak it overnight to initiate germination, soften the grains, and hydrate them.
Cook and Sterilize: Next, you’ll cook the grains and then sterilize them, often in a pressure cooker. This is your mycelium’s clean slate, free of competing organisms.
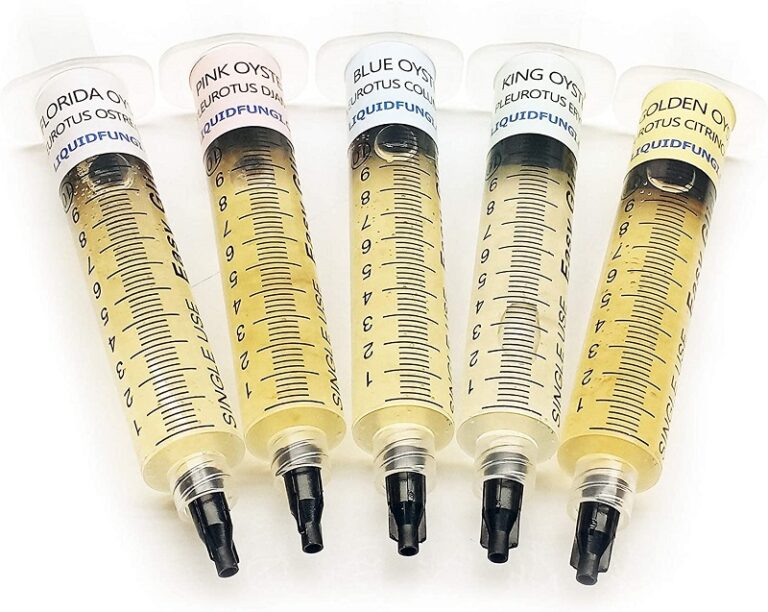
Inoculation: Now comes the exciting part. In a sterile environment, you’ll introduce the mycelium to the sterilized grain. This is often done using a syringe filled with a liquid culture of the chosen mushroom species.
Incubation: Let the power of patience prevail! Store your inoculated grain in a warm, dark place. The mycelium will begin to consume the grain and multiply. You’ll notice white threads spreading throughout the grain—that’s your mycelium on the move!
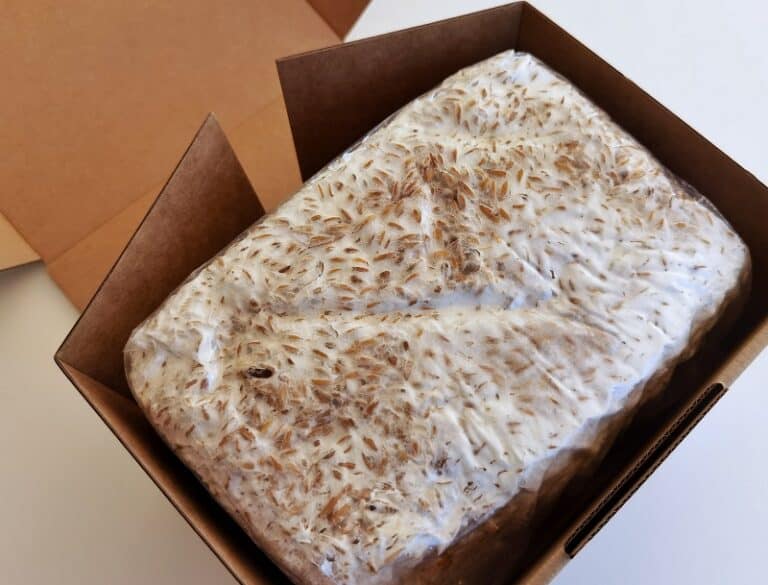
Colonization: Once the grain is fully colonized, congratulations, you’ve got yourself some grain spawn! You’re now equipped to transfer it into a bulk substrate (like straw or wood chips), where it will continue to grow and, eventually, produce the delicious mushrooms we all know and love.
This might seem like a lot of hoops to “jump through,” but remember—mushrooms are just like us; they love a good meal and a comfortable environment. So, let’s put on our ‘shroom steward hats and give them the first-class treatment they deserve! After all, we’re in the business of “raisin’ grain” for our fungal friends.
What You'll Need
As we navigate this in-depth process, it’s crucial to recognize that the success of grain spawn production hinges heavily on having the right tools for the job.
Before we embark on this journey, we need to assemble our toolbox. Certain specific items are non-negotiable when it comes to creating your grain spawn. Two such pivotal components are modified Mason jars and a pressure cooker.
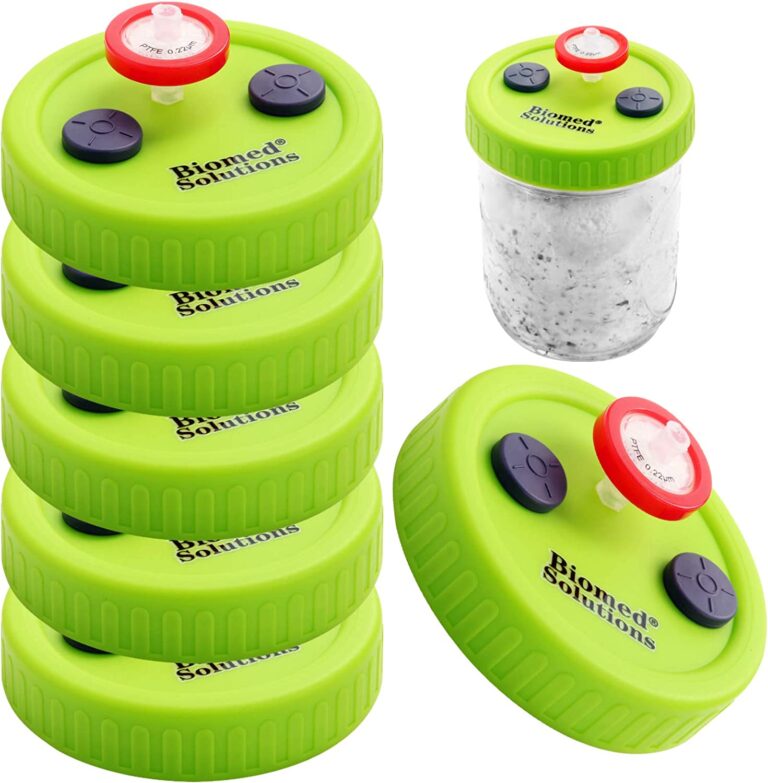
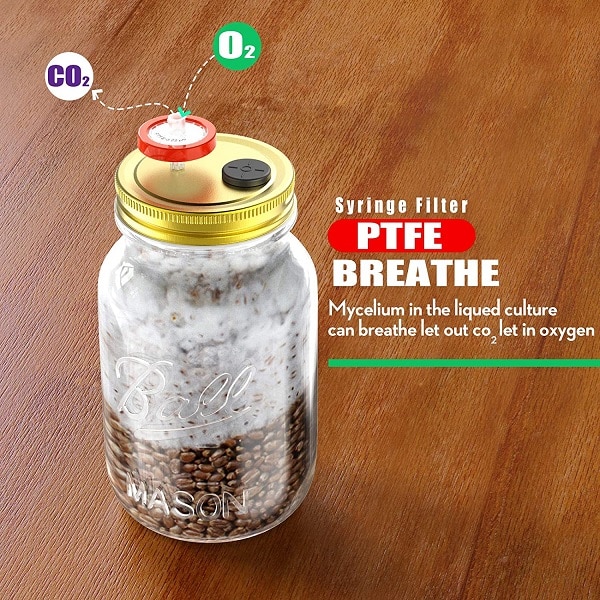
Why Mason jars, you ask? Simple. The glass walls allow us to monitor our mycelium’s colonization progress visually. As for the modification, we add a gas exchange filter and a self-healing injection port, crucial for maintaining sterility during inoculation and ensuring the mycelium gets enough oxygen as it grows.
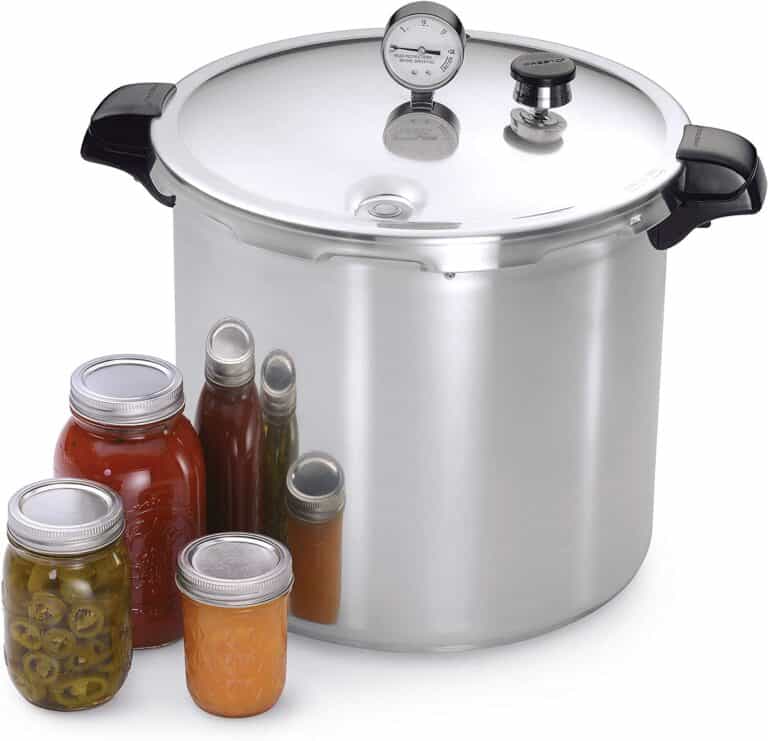
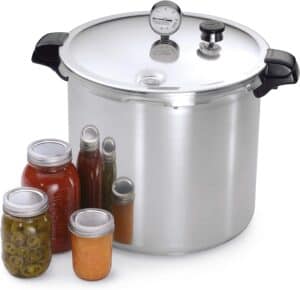
Next on our list, a pressure cooker. This device is your sterilization champion, eliminating any competing organisms from the grain, thereby providing your mycelium with a clean and safe playground.
Both these items will play starring roles in your journey to successful mushroom cultivation. If you do not already have these at home, do not fret! To aid you on this path, we’ve curated a list of links for each of these crucial components.
We take pride in ensuring our readers have access to the best tools for the job, and our affiliate links will direct you to trusted retailers for each. Remember, equipping yourself with the right materials isn’t just part of the process—it’s an investment in your mushroom cultivation journey. So gear up, and let’s get growing!
- 8 x 16 oz (500ml) mason jars
- 8 x Modified lids for mason jars
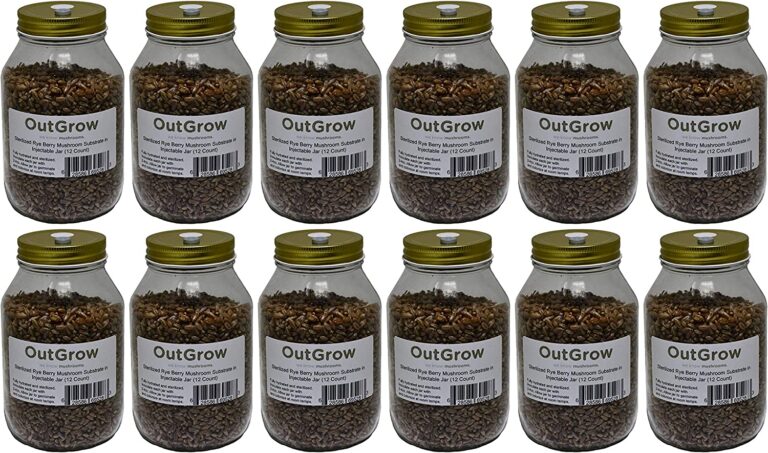
- 1 kg grain – oats, wheat, rye, sorghum etc.
- Bucket
- Aluminium Foil
- Hot water
- Pressure cooker
- Mycelium on agar, liquid syringe or grain spawn.
- 70% Isopropyl alcohol
- Disposable wipes
- Gloves
Can You Use An Instapot For Mushroom Growing?
While our journey into the realm of mushroom cultivation is indeed fascinating, we must also remain cognizant of the serious undertones that underpin the process. Sterilization, for instance, is a vital component of producing grain spawn and necessitates the use of a pressure canner or cooker.
Pressure canners are the stalwarts of sterilization. These heavy-duty tools utilize high heat and pressure to destroy bacteria, yeasts, molds, and even bacterial spores that regular boiling water cannot. The role of a pressure canner is to create a sterile environment for our mycelium, free from competition, and conducive to thriving growth. Without it, our grain could fall prey to contaminants, potentially halting our mushroom cultivation efforts.
For those considering smaller quantities, an Instant Pot can indeed be a feasible alternative to a traditional pressure canner. With its ability to reach pressures of up to 11.6 PSI, the Instant Pot can serve the purpose of sterilizing grain effectively for hobbyist growers. However, be aware that it may not reach the pressure levels a commercial-grade pressure canner would, potentially impacting sterilization effectiveness.
Please remember, the effectiveness of your sterilization process directly correlates with the success of your grain spawn and, ultimately, your mushroom yield. It’s an area where precision and seriousness take center stage, ensuring that the subsequent stages of mushroom cultivation are set for success.
While the fascinating world of fungi does provide a sense of joy and adventure, it also commands respect for its scientific nuances, demonstrating that mushroom cultivation is truly an art blending curiosity and careful attention to detail.
As always, your safety is paramount in all these processes. Make sure you understand how to use pressure canners or Instant Pots safely. They are powerful tools, but misuse can lead to injury. So, equip yourself with knowledge first and foremost.
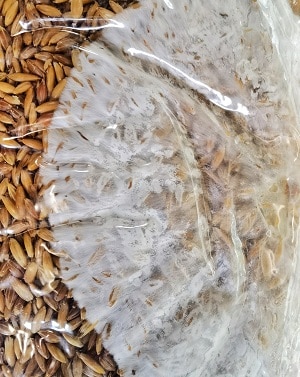
Step 1. Hydrate The Grain
Rehydration of your selected grain, in this case, oats, is a pivotal step in the process of creating grain spawn. It’s not just about adding water—it’s a careful balance that, when done correctly, provides the ideal environment for mycelium growth. Here’s a step-by-step guide to getting it right:
1.1: Measure Your Oats
Measure out the amount of dried oats you’ll need. As a general rule, aim for roughly 1/3 of the final desired volume of your jars. So, for a quart jar, you’d want about a cup of dried oats. Remember, we’re not just filling our jars with oats—we also need room for the water and the eventual growth of the mycelium.
1.2: Rinse and Soak
Rinsing your oats before soaking helps to remove any dust or impurities. Then, soak your oats in enough water to fully cover them, and leave them overnight. This step is crucial because it begins the germination process in the grains, making the nutrients more available to the mycelium, and also hydrates the grains which the mycelium will use for growth.
1.3: Drain
After the soak, drain your oats but don’t rinse them. We want them to retain as much of the absorbed water as possible, as this will aid in the mycelium’s growth.
1.4: Hydrate Check
To check that your oats are correctly hydrated, perform a quick ‘squish’ test. Take an oat and squeeze it. It should be firm, and you should be able to crush it with a decent amount of pressure, but it shouldn’t be mushy. If it’s too hard, it may need more soaking. If it’s too soft, it’s over-hydrated, which can lead to problems down the line, such as too much moisture in your jars.
It’s key to understand that rehydrating your oats is not a process to rush. This is where your mycelium’s nutrients and moisture come from, so it’s a foundational step in successful mushroom cultivation. Attention to detail here will set the stage for a productive spawn run and, ultimately, a bountiful mushroom harvest.
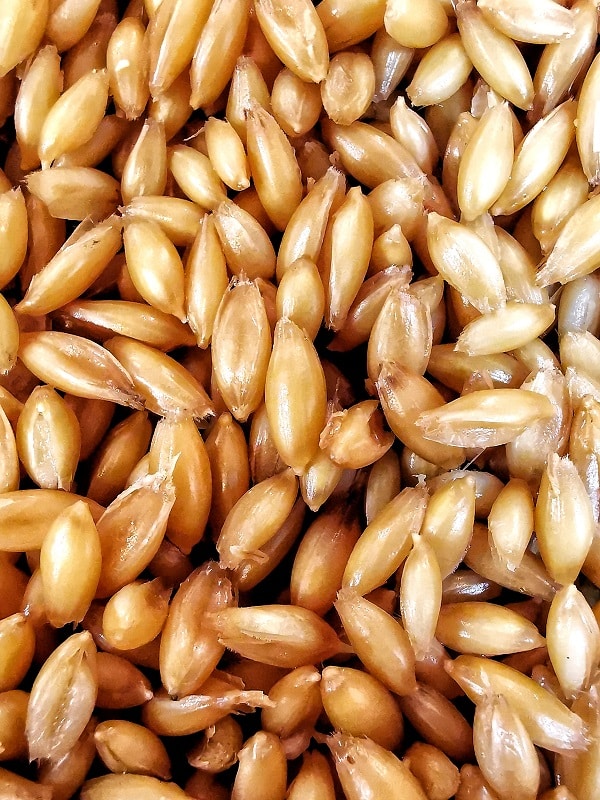
Optimized Design: These modified lids are engineered with the mushroom cultivator in mind. They boast filters for fresh air exchange and self-healing injection ports, providing your mycelium with the perfect balance of oxygen and protection.
Versatile Fit: Whether you’re team ‘Wide Mouth’ or ‘Regular Mouth’, these lids have got you covered. Designed to fit both types of mason jars, they ensure a snug, secure seal no matter your jar style preference.
Reusable and Sustainable: Say goodbye to single-use lids! These modified lids are built to last, providing a sustainable option for your mushroom growing needs. Simply sterilize between uses and they’re good as new.
Ideal for Grain Spawn and Liquid Culture: Looking to produce high-quality grain spawn or liquid culture? These lids offer the ideal conditions for your cultures to colonize and thrive, setting the stage for a bountiful harvest.
Simple to Use: These lids are as user-friendly as they come. The self-healing injection ports make inoculation a breeze, and the built-in filters take care of fresh air exchange without any extra effort from you.
Boosted Yields: By providing optimal growing conditions, our reusable modified lids can help enhance the productivity of your mushroom growing setup. Expect healthier mycelium and more abundant harvests!
Step 2. Pack & Seal Jars
2.1. After having rehydrated your chosen grains, drain them thoroughly. While it’s crucial to ensure the grains are well hydrated, excess water can create an environment conducive to bacterial growth and detrimental to our mycelium.
2.2. Begin filling the jars with the rehydrated grains, leaving approximately an inch of space at the top. This space will be beneficial later on when shaking the jars to distribute the mycelium. A canning funnel can be a handy tool for this process, ensuring cleanliness and efficiency.
2.3. Once your jars are filled with grains, screw on the lids tightly. Ensure that the self-healing injection port and gas exchange filter are exposed to the exterior environment.
2.4. Lastly, secure a layer of aluminum foil over each jar lid. This serves a dual purpose: it protects the gas exchange filter from getting wet during the sterilization process and provides an additional barrier against potential contaminants.
At the completion of this step, your Mason jars, filled with rehydrated grains, are sealed and ready to be sterilized. Treat this process with care and attention; as with all steps in mushroom cultivation, each contributes significantly to the overall success of your harvest.
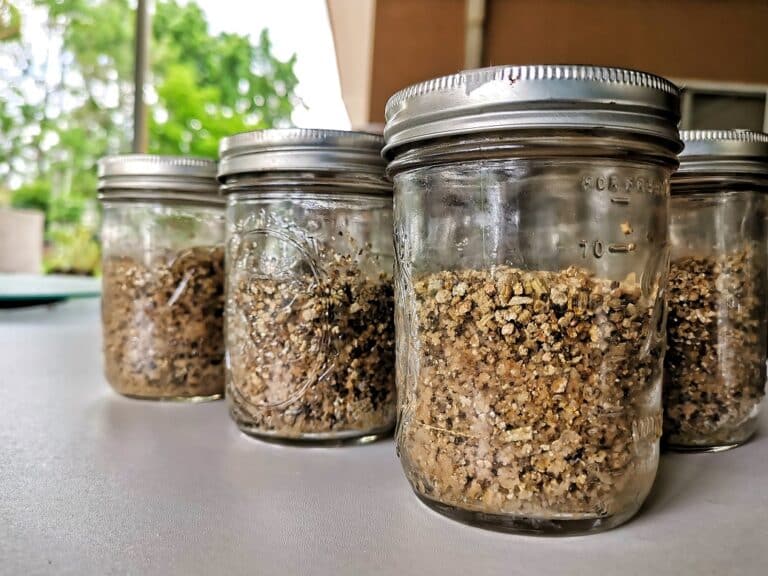
Step 3. The Battle Against Competing Organisms
As we delve further into the process of creating grain spawn, our next step is a critical one: sterilization. This is our frontline defense against contamination, ensuring our mycelium can thrive without competition. A word of caution: while sterilization can feel daunting, proper care and attention to detail can turn it into a straightforward, manageable task.
For this step, you’ll need your pressure canner or Instant Pot, a reliable heat source, and of course, your Mason jars filled with rehydrated grain.
3.1. Preparation: Place your pressure canner on your heat source and fill it with a couple of inches of water. The water should not reach the lids of your Mason jars. If you’re using a stove, it’s advisable to use a heat diffuser to evenly distribute the heat.
3.2. Loading the Canner: Before loading your jars into the canner, make sure the rubber gasket inside the lid of the pressure canner is clean and in good condition. This ensures an airtight seal. Arrange the Mason jars on the rack inside the canner, making sure they’re not touching each other or the sides of the canner to avoid cracking.
3.3. Secure the Lid: Place the lid on the canner and secure it according to your manufacturer’s instructions. Allow the steam to vent for about 10 minutes. This purges the air inside and ensures that the internal temperature will reach sterilization levels.
3.4. Sterilization Process: After venting, place the weight on the vent pipe and bring the pressure up to 15 PSI (or according to the specifications of your pressure cooker). Maintain this pressure for 90 minutes to ensure complete sterilization. It’s important to monitor the pressure consistently, adjusting the heat as necessary to maintain the correct pressure.
3.5. Cooling: After the sterilization process, turn off the heat and allow the pressure canner to cool naturally. Do not attempt to speed up the process by cooling it under cold water or manually removing the weight, as this could lead to a dangerous release of pressure. Once the pressure has fully dropped (which could take a few hours), it’s safe to open the canner and remove your jars.
Unlock the full potential of your mushroom cultivation with our Presto 23qt Pressure Canner. This rugged, high-capacity workhorse is just the tool you need for efficient, reliable sterilization of your substrates.
Large Capacity: With a robust 23-quart capacity, our Presto Pressure Canner can handle larger loads, helping you prepare multiple jars of substrate in one go. Now, that’s what we call mushroom efficiency!
Unmatched Sterilization: Sterilization is crucial in mushroom cultivation to ward off contaminants. Our pressure canner ensures thorough, high-temperature sterilization, creating an immaculate environment for your mycelium to thrive.
Built to Last: Durability is the name of the game with the Presto Pressure Canner. Made with high-grade materials, it’s designed to withstand the test of time, serving your mushroom cultivation needs for years to come.
User-Friendly Design: It’s not just powerful, it’s also easy to use! With a simple, intuitive design, even beginners can quickly get to grips with operating our Presto Pressure Canner.
Safety Features: Your safety is paramount to us. Equipped with a pressure dial gauge for precise pressure control and a locking lid system, the Presto Pressure Canner prioritizes safe operation.
Boost your mushroom cultivation efforts with the Presto 23qt Pressure Canner – because when it comes to successful sterilization, we believe in no half measures!
Step 5. Inoculate
Let’s move on to one of the most critical steps: inoculating sterile jars of rehydrated grain with liquid culture or pieces of mycelium grown on agar. It’s a delicate process, requiring precision and patience.
Here’s a step-by-step guide to take you through it:
5.1. Preparation: Prepare your workspace by ensuring it’s clean and free from drafts. Some cultivators prefer to use a Still Air Box or a glove box to minimize the risk of contamination. Gather your sterilized grain jars, liquid culture syringe, or mycelium on agar, alcohol wipes, and a flame source like a lighter or alcohol lamp.
5.2. Sterilization: Wash your hands thoroughly and put on a pair of sterile gloves. Sterilize the needle of your liquid culture syringe or scalpel (if using agar) using the flame until it’s red-hot, then let it cool for a few seconds. Wipe the needle or scalpel with an alcohol wipe after it has cooled.
5.3. Inoculation: If you’re using a liquid culture syringe, shake it well to distribute the mycelium evenly. Inject the needle into the self-healing injection port of your grain jar, and depress the plunger to inject the liquid culture. The general rule of thumb is to use 1-2 mL of liquid culture per quart jar of grain. Remove the needle, and the self-healing port will prevent contamination.
If you’re using mycelium on agar, open the lid of your grain jar just enough to slide a piece of mycelium-covered agar into the jar. Use your sterilized scalpel to cut a small piece of the agar and quickly transfer it to the grain jar. Close the lid immediately after the transfer.
5.4. Shake: After inoculation, it’s beneficial to shake your jar to distribute the mycelium throughout the grain. This helps speed up the colonization process.
5.5. Incubation: Finally, place your inoculated jars in a warm, dark, and clean space. This allows the mycelium to colonize the grain at an optimal rate.
Remember, this process requires meticulous attention to cleanliness. Any lapse could introduce contaminants that inhibit mycelium growth or introduce harmful organisms. Be patient, take your time, and above all, stay sterile!
In the world of mushroom cultivation, precision is key, and the reward for your attention to detail will be a thriving mycelial network, ready to produce the fruits of your labor. Happy growing!
Step 6. Incubate & Colonise
Having sterilized, inoculated, and sealed your grain in its mason jar home, we now move to an equally important stage of the process—incubation and colonization. As serious as it may sound, this is where the magic truly happens, where you’ll witness the mycelium spreading its complex, beautiful network across the grain.
Incubation is the process of allowing the grain spawn jars to sit in a controlled environment, providing the optimal conditions for mycelium to grow and colonize the substrate. A good rule of thumb is to aim for a temperature around 75-80°F (24-27°C), which is a sweet spot for most gourmet and medicinal mushrooms.
Here’s how to proceed:
6.1. Find the Right Spot: Locate a place that is dark, warm, and out of direct sunlight. Remember, mushrooms are not plants. They don’t require light at this stage and can, in fact, be hindered by it.
6.2. Set the Temperature: If the location you’ve chosen does not naturally reach the desired temperature, consider using a seedling heat mat or a similar device to help maintain the right conditions. A thermometer can also be helpful to monitor the temperature.
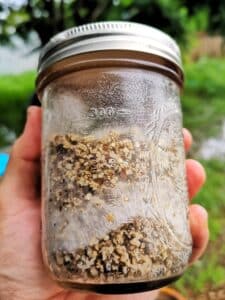
6.3. Monitor Progress: Over the next week or two, you’ll start to see the mycelium growing, appearing as white patches on the grain. This is a sign that your inoculation was successful.
6.4. Patience, Patience, Patience: Allow your grain spawn to fully colonize, which can take 1-3 weeks, depending on the mushroom species and environmental conditions. Resist the temptation to disturb the jars during this period, as introducing fresh air can bring contaminants.
6.5. Fully Colonized Grain Spawn: Once your grain is thoroughly coated with the mycelium—it should appear uniformly white—you have successfully created fully colonized grain spawn!
Remember, patience is key here. Every mycelial network develops at its own pace, so don’t fret if things seem to be moving slowly. The sight of a fully colonized grain spawn jar is worth the wait—it’s the testament of your careful and precise work up until this point.
In this serious undertaking, you are not just a cultivator but also a custodian of the growth that unfolds within these jars. The world of fungi thanks you for your dedication and the care you put into this process.
