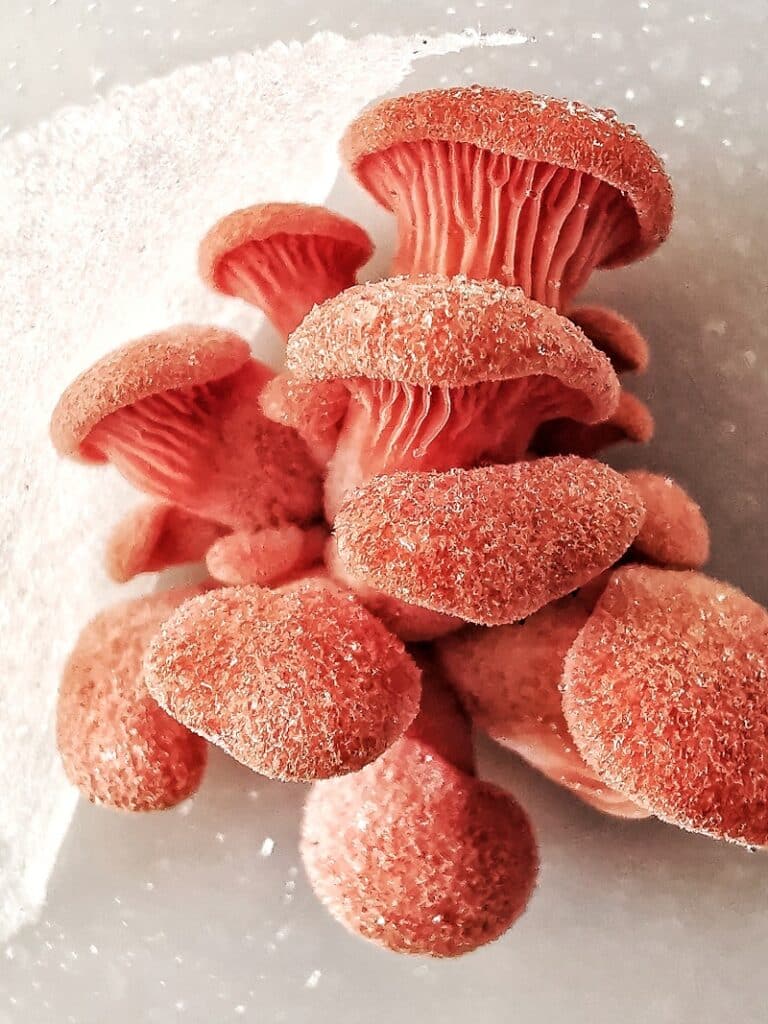
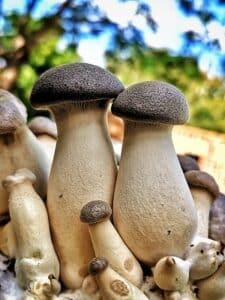
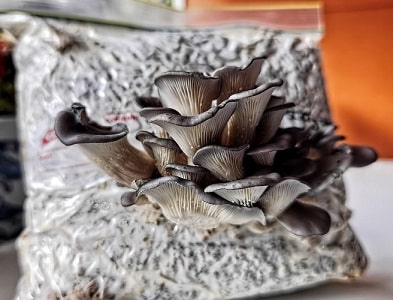
Growing mushrooms in buckets in a deeply rewarding experience. Fast growing, side fruiting species of oyster mushroom like the pink, yellow, white or blue oyster make excellent candidates for bucket cultivation. Top fruiting species like king oyster aren’t recommended for this method.
In this guide we will demonstrate how to cultivate oyster mushrooms in buckets. We will be using a basic substrate of sugar cane mulch however this may be substituted with any variety of straw available.
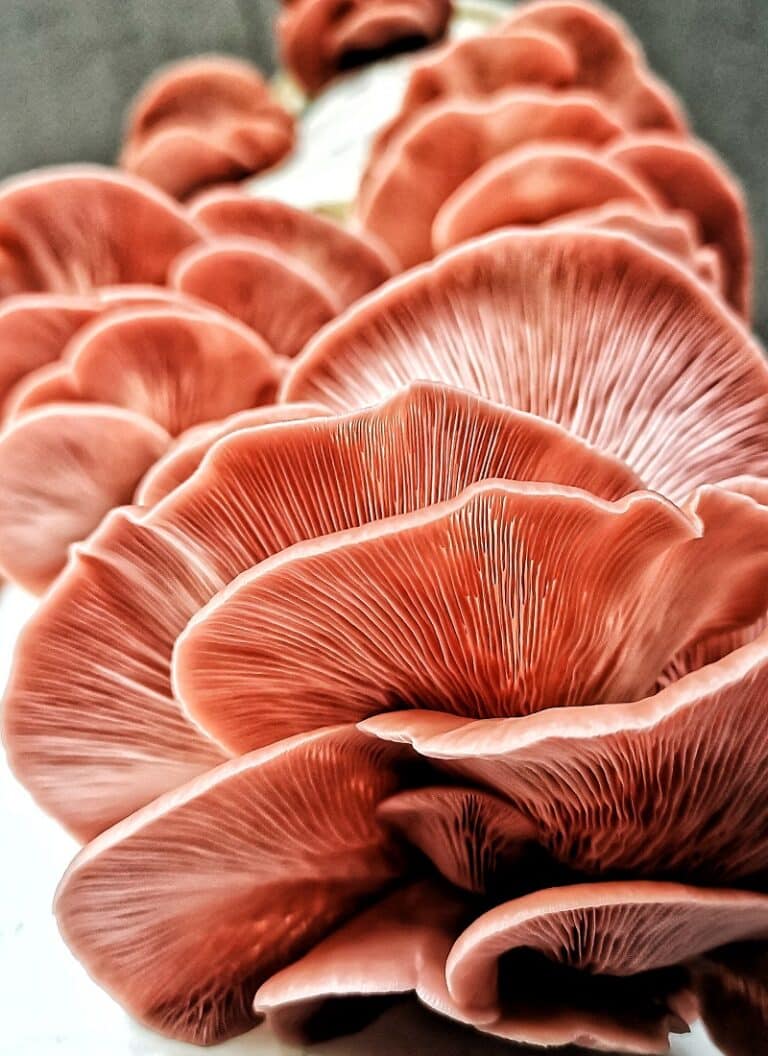
Preparing With Pasteurisation
Pasteurisation is used to prepare the substrate for growing mycelium without being inhibited by colonies of competing pathogens, like yeast or mould. Pasteurisation is essential when growing oyster mushrooms in buckets.
In this guide we will demonstrate the use of cold water lime pasteurisation which allows us to process a greater quantity of substrate without the use of heat.
When possible we recommend hot water pasteurisation for fast and effective processing.
Follow the link below to learn more about pasteurisation and sterilisation.
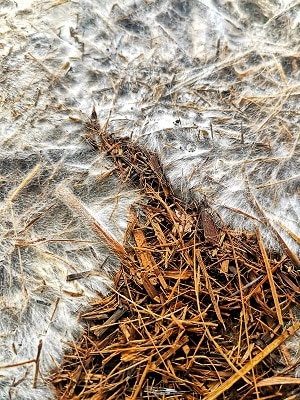
What Substrates Will Oyster Mushrooms Grow On?
Oyster mushrooms will grow on a wide range of materials including sugar cane mulch, straw, paper pellets and hardwood.
For beginners we recommend experimenting with sugar cane mulch or paper pellets.
In this guide we will be demonstrating the use of sugar cane mulch in large buckets. The structure of materials like sugar cane mulch and straw will allow for the substrate to breath when packed into larger containers like 20L buckets.
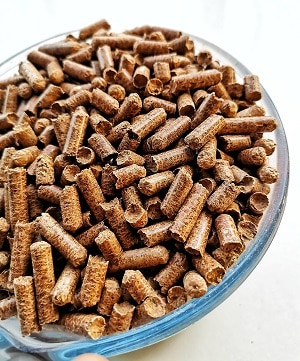
Smaller vessels like 3L buckets, jars, food grade containers or filter patch grow bags are suitable for cultivation with substrates like pasteurised paper pellets or hardwood fuel pellets.
Learn more about growing on bulk substrates in the link below.
Can I Supplement With Coffee Grounds?
Freshly spent coffee grounds are often added to a bulk substrate as a form of supplementation.
It’s not recommended for beginners to use coffee as a supplement as it will greatly increase the risk of contamination developing.
Our preferred method of using coffee grounds is to incorporate it with paper pellets that have already been fully colonised with mycelium. Learn more about successfully growing mushrooms on coffee grounds in the link below.
What You'll Need
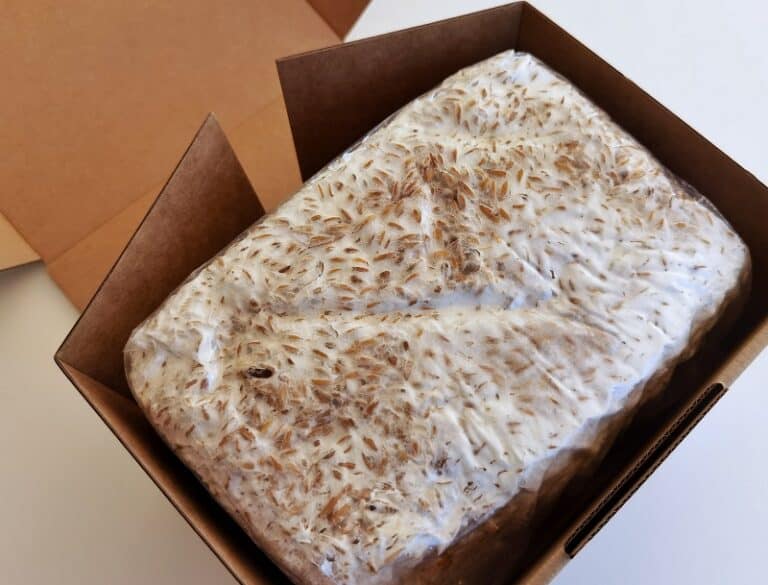
In this guide we have used 2kg of oyster mushroom grain spawn to inoculate 3 x 20L buckets. We recommend using smaller buckets, containers or bags depending on the space available within your fruiting chamber or greenhouse.
- 3 x 20 litre food grade buckets with lids
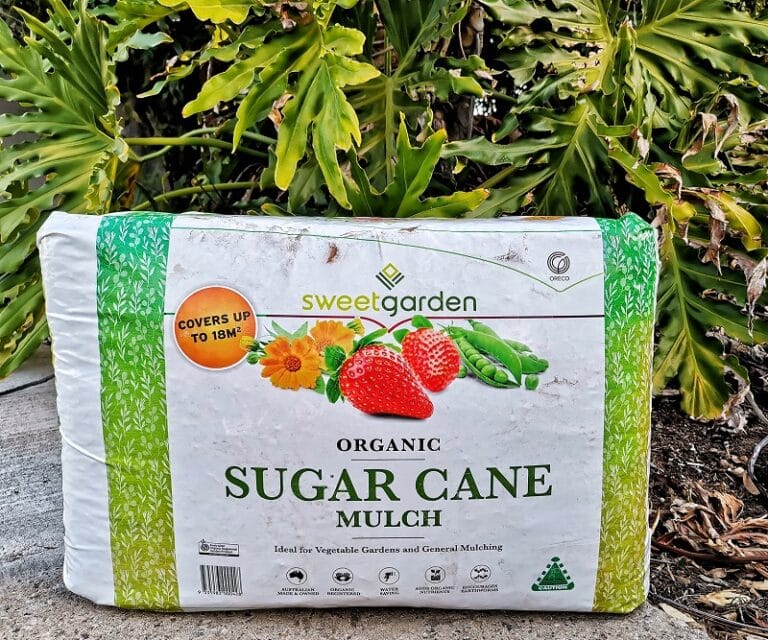
- 1 bale of sugar cane mulch (pictured)
- 2 kg oyster mushroom grain spawn
- Micropore tape
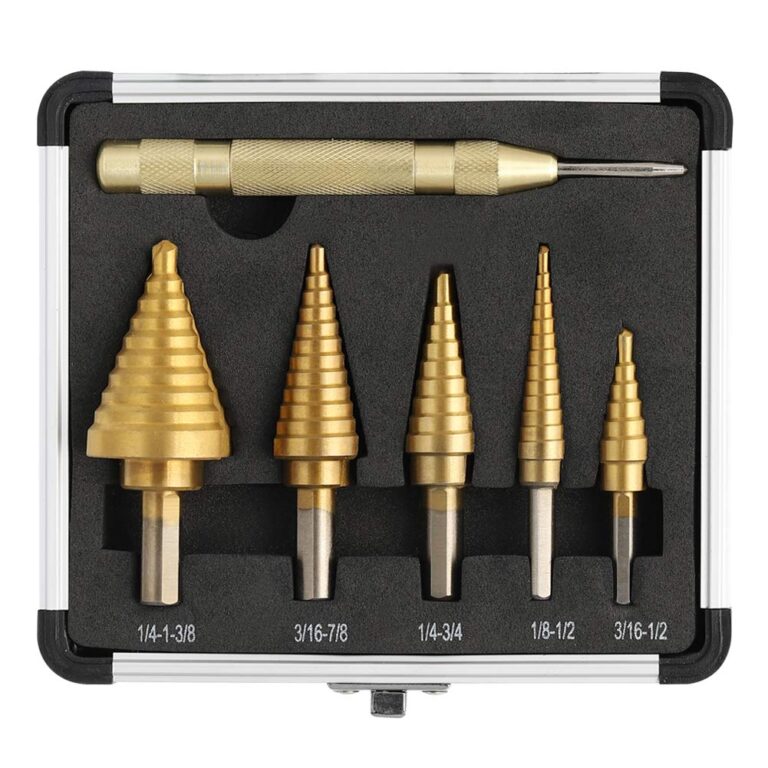
- Step drill for making holes
- Laundry basket
- 70L bin
- Hydrated lime
Step 1. Pasteurise Substrate
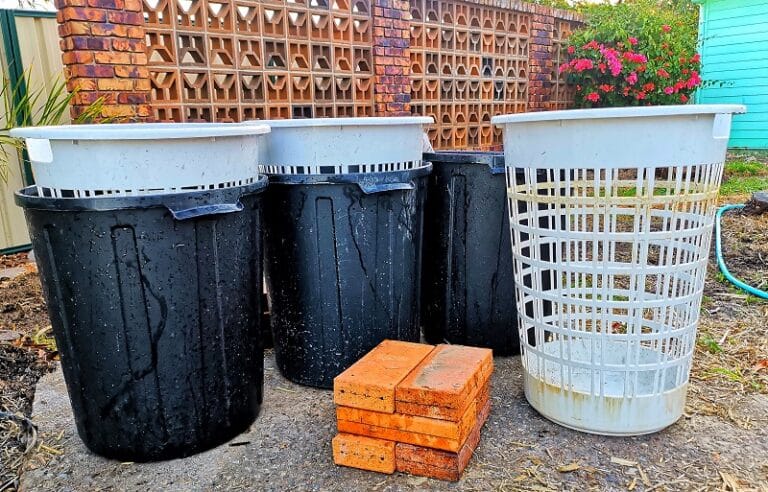
Prepare a lime bath in the 70 L bin using cold water and add approximately 3 grams of lime per litre of cold water used. Fill laundry basket with mulch or straw, apply weight on top and submerge the mulch filled laundry basket in the lime water bath for between 16 – 24 hours.
Once ready remove laundry basket from the lime bath and allow it to drain. The substrate can be spread across a table or fly screen to help it drain faster.
The straw should be hydrated to field capacity. This can be identified by squeezing a handful of the substrate. It will no longer drip excess amounts of water once it has drained to field capacity.
Learn more about lime pasteurisation in the link below.
Step 2. Prepare Buckets
The buckets or containers will require holes for ventilation, fruiting and drainage. The size of these holes may vary greatly due to personal preference however we recommend making holes betwaeen 8 – 12 mm.
The mycelium will continue to produce carbon dioxide while colonising the substrate. Fresh air exchange via holes in the bucket will regulate co2 to ensure fast, healthy growth of the mycelium. Holes on the side of the bucket should be within 15 – 20 cm of each other to allow for fresh air exchange.
A few holes must also be made on the base of the bucket. As the mycelium matures it will release yellow, liquid metabolites which will need to drain away to ensure that the substrate isn’t over saturated.
Apply micro pore tape to the outside of each hole on the sides of the bucket. This will help retain moisture while allowing for fresh air exchange. Micro pore tape is a breathable, adhesive paper tape which can commonly be found in the pharmacy with band-aids and wound coverings.
Step 3. Fill Buckets
Fill the buckets, containers or bags with sugar cane mulch while layering with oyster mushroom grain spawn.
Pack firmly, but not too firmly. Ensuring that the substrate can still breathe. Fill to the brim. Place lid on the bucket and mark with the prepared and contained species.
Step 4. Seal & Wait
Store the the packed and sealed bucket in away from direct sunlight, preferably at room temperature.
Over the following 8 – 21 days mycelium will grow and consume the mulch substrate. Species like pink oyster may begin fruiting within as little as 8 days whereas other species like blue oyster may take up to 3 weeks.
Variations in temperature or quantity of spawn used may affect the rate of colonisation.
Step 5. Move Into A Fruiting Chamber
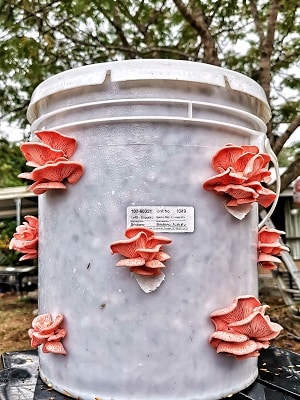
The buckets can be placed into fruiting conditions once the mycelium has fully colonised the substrate. The mycelium will usually begin to bulge and push off the micro pore tape as it begins to fruit.
By placing the containers into fruiting conditions we will encourage the formation of primordia. Primordia are the coral like structures which will develop into fully formed mushroom fruiting bodies if maintained in fruiting conditions.
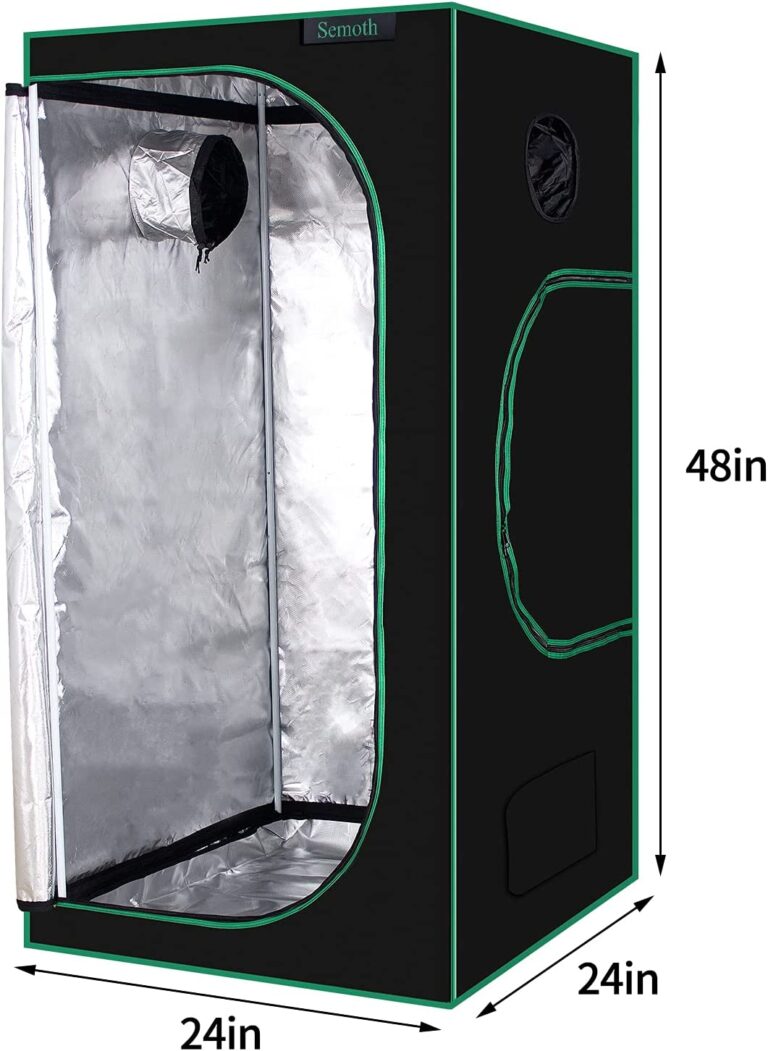
Greenhouse Fruiting Chambers
Making A Fruiting Chamber
Mushrooms require humidity to grow. We recommend using a mini-greenhouse. Spraying the inside walls of the greenhouse will help raise humidity. A cheap humidifier can used to automate the process.
It’s important to ensure that the grow kit has fresh air exchange. Mushrooms produce carbon dioxide and will grow long and leggy if they require more oxygen.
Check the product pages for species specific requirements.
Alternatively you can build a Shotgun Fruiting Chamber (SGFC) from a few common items found easily in your local hardware store.
Step 6. Harvest Mushrooms
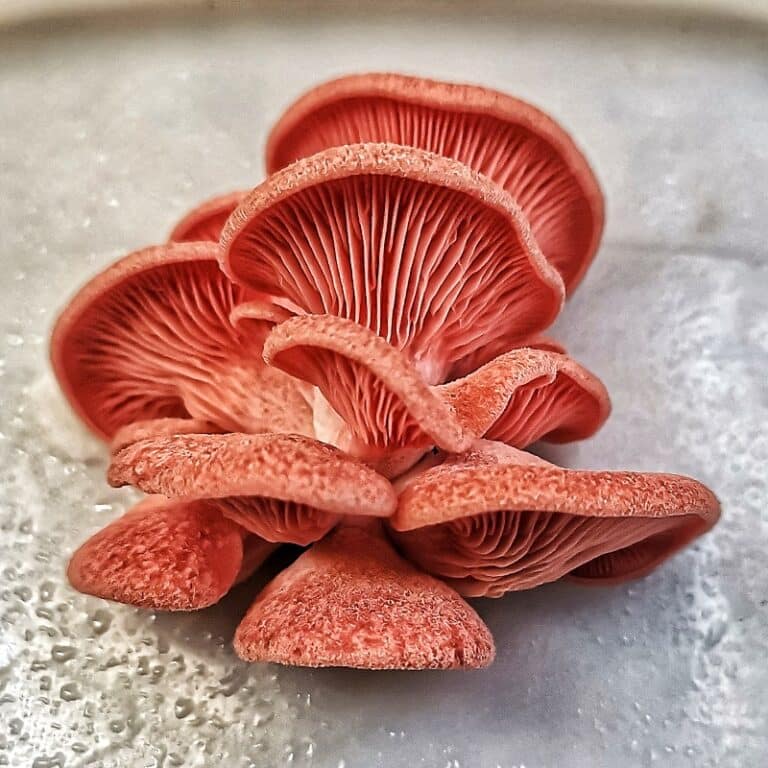
Harvest the oyster mushrooms before their caps begin to turn upwards. It’s at this point they will drop the majority of their spores and begin to lose condition.
Store them in a paper bag in the fridge for optimum shelf live.
Step 7. Triggering A Second Flush
The mycelium may require between 7 – 14 days to rest and recover before producing the next flush of mushrooms.
The substrate can be rehydrated with clean tap water if it has dehydrated considerably since the first flush. A dehydrated substrate may shrink and retract away from the holes in the bucket causing fruits to become trapped.
Micro pore tape should be reapplied to maintain humidity if the vessel isn’t being stored in fruiting conditions while waiting.
Summer species like pink and yellow oyster will often produce a second flush sooner in comparison to cooler weather species which may require more time between flushes.
Each subsequent flush is usually smaller than the last.
