Free Shipping On All Orders
Grow Oyster Mushrooms With Coffee
Picking your own home grown gourmet mushrooms is a deeply satisfying experience. There’s a special kind of excitement that stirs each time you take a peek and see the near infinite strands of mycelium devour and consume the otherwise bland substrate.
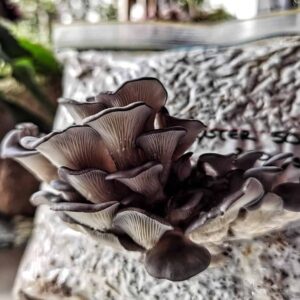
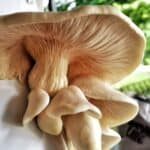
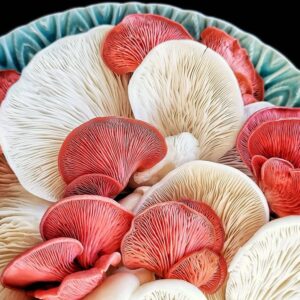
Oyster mushrooms are the perfect candidate for the beginner. A number of different oyster mushroom varieties are commonly available. Although different varieties may be suited to different temperatures, all oyster mushrooms are exceptionally vigorous.
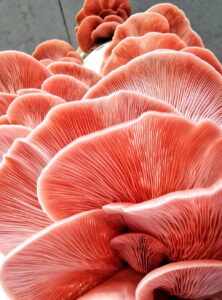
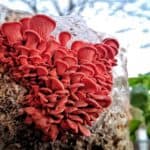
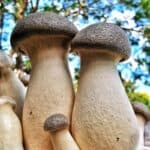
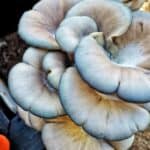
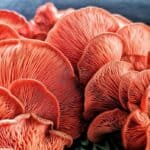
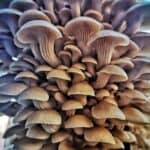
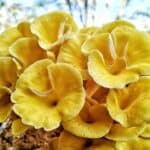
Commonly grown varieties include the pink, white, yellow, blue, brown, phoenix & king oyster mushroom.
Using Paper Spawn
In this guide we will be using fully colonised paper spawn as the bulk substrate. Paper spawn can easily be prepared by combining grain spawn & paper pellets. Learn how to prepare paper spawn the link below.
What You'll Need
- Paper Pellets
- Hot Water
- Bucket
- Scales
- Zip-lock Bags
- Micro Pore Tape
- Scissors
- Fresh Coffee Grounds
Step 1. Pasteurise Paper Pellets
Prepare portions of paper spawn to be used as a bulk substrate. Paper spawn will need between 2 – 3 weeks to fully colonise before proceeding with step 2.
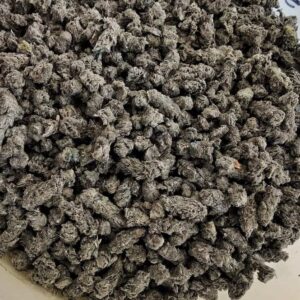
Paper spawn is produced by treating kitty litter paper pellets with hot water pasteurisation. 400 grams of paper pellets are pasteurised with 600 ml of hot water.
Step 2. Incorporate Grain Spawn
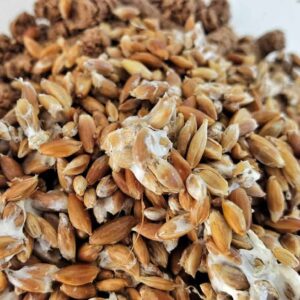
Once cool 200 grams of grain spawn is added.
Note: 100 grams of grain spawn may be used however colonisation may be slower and more prone to developing contamination.
Step 3. Pack In Jars Or Zip-lock Bags
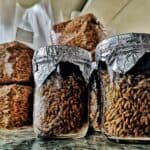
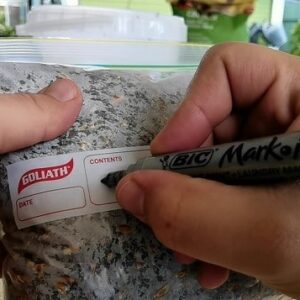
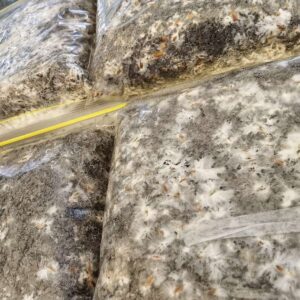
Loosely pack the paper pellets & grain spawn mixture into jars or zip-lock bags. Make a hole in the lid or in the zip-lock bag and cover with micro pore tape to allow for fresh air exchange, this will encourage faster growth of the mycelium. The mycelium will grow and cover the paper pellets over the following 2 – 3 weeks. Store at room temperature out of direct sunlight.
Step 4. Break Apart Paper Spawn
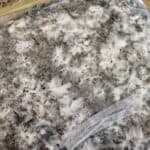
Once fully colonised, the paper spawn can be broken apart.
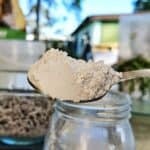
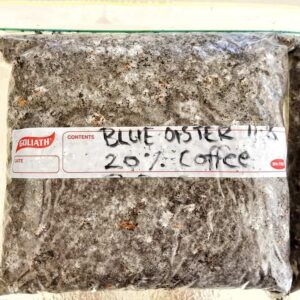
Step 5. Mix In Freshly Spent Coffee Grounds
Weigh the fully colonised paper spawn to calculate the quantity of coffee grounds required.
The amount of coffee grounds used can vary greatly. Increased amounts of coffee grounds may result in greater risk of contamination. We recommend starting with 5 – 10% coffee and increasing with experience to avoid disappointment.
Step 6. Store & Wait For Between 2 - 3 weeks
Pack the coffee and paper spawn mixture loosely into bags or bottles with a hole covered with micro pore tape for fresh air exchange.
Store the substrate at room temperature out of direct sunlight.
Step 7. Place Into Fruiting Conditions
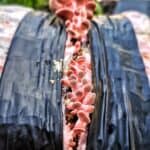
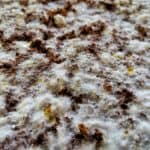
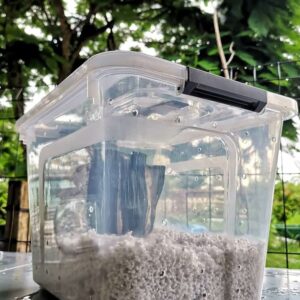
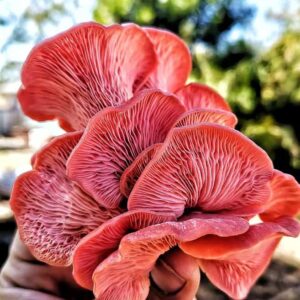
Once fully colonised by a layer of white mycelium the substrate may be placed into fruiting conditions. This will involve maintaining a high level of humidity for the healthy formation of primordia. Primordia are the small, coral-like growths which will develop into mushroom fruiting bodies.
A small opening will need to be made in the bag to allow for mushrooms to grow, alternatively lids from bottles will need to be removed if used.
Step 8. Harvest
The mycelium may require between 7 – 14 days to rest and recover before producing the next flush of mushrooms.
The substrate can be rehydrated with clean tap water if it has dehydrated considerably since the first flush. A dehydrated substrate may shrink and retract.
Micro pore tape should be reapplied to maintain humidity if the vessel isn’t being stored in fruiting conditions while waiting.
Summer species like pink and yellow oyster will often produce a second flush sooner in comparison to cooler weather species which may require more time between flushes.
Each subsequent flush is usually smaller than the last.
Making A Fruiting Chamber
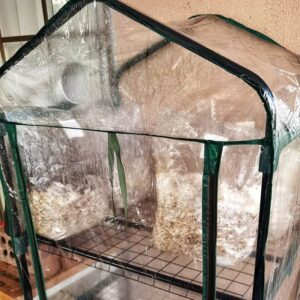
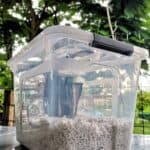
Mushrooms require humidity to grow. We recommend using a mini-greenhouse. Spraying the inside walls of the greenhouse will help raise humidity. A cheap humidifier can used to automate the process.
It’s important to ensure that the grow kit has fresh air exchange. Mushrooms produce carbon dioxide and will grow long and leggy if they require more oxygen.
Check the product pages for species specific requirements.
Alternatively you can build a Shotgun Fruiting Chamber (SGFC) from a few common items found easily in your local hardware store.
Using A Humidifier
Humidity can be managed through a diligent misting and fanning regime, however the introduction of a humidifier and humidity controller can help automate the process and ensure consistency.
Adding a 6L humidifier and controller to a greenhouse with the addition of a USB fan is a quick and easy way to make a low cost fruiting chamber that delivers excellent results.
